I use Photoshop for this, and this tutorial is basically the process I use to crap out a map when I want one done in a hurry – less than an hour or so. Because it is so quick, that means I could drop a tutorial in here that isn’t TOO long. So again, this is very quick n dirty, no touch up or detail work – just the basic idea 😉
* Click any images for larger versions *
So, here we go…
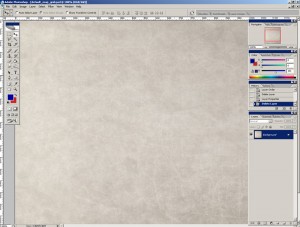
First things first, you need a floor. I work from the floor up. You can find textures online and then lighten/darken them as needed – but an image with some kind of texture is best…
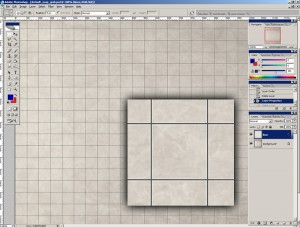
Next up, we put some lines down on a new layer. These I do dark-ish grey and place them every 50 pixels. I then apply a layer style “stroke” (layer > layer style > stroke ) of 1 pixel width and a light/white color. I then set it’s transparency down to 50% or so. This gives the squares a slight beveled look…
Next, we add a new layer and fill it with a dark grey or brown. This will be the walls once we cut out rooms. You want to see the grid below so lower the transparency down on this layer to 50%. Once you do this, you can use the marquee tools to select and cut out hallways, rooms etc…
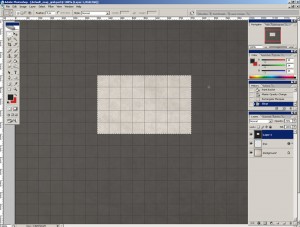
Once you have your rooms cut out, bring the transparency back up to 100% on the “walls” layer.
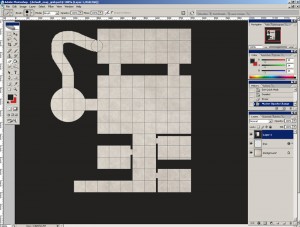
Then, you will need a “rock” or “stone” texture of some kind (or even parchment). This image you will drag into its own layer above the wall layer.
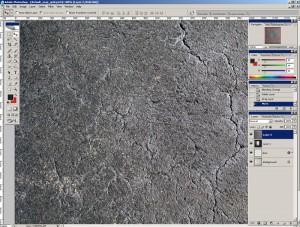
Set the blend mode to “overlay” (or play with it to get the desired look). Once there, use the Magic Wand tool (see it in the image below, it’s the selected button on the left toolbar) and highlight the empty area of the walls layer (layer 1).
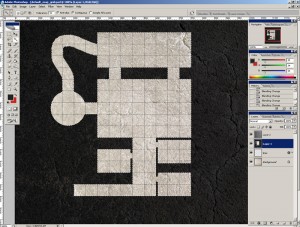
Once highlighted, select the “rock” layer (layer 2) and hit “delete”
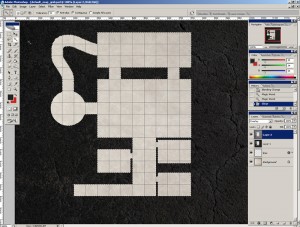
At this point, I might throw in some details. I grab the paint brush with a small point and dark color – I then scribble lines along the walls. Don’t worry about staying in the lines – you can use the Magic Wand again, select the empty areas of the wall layer, then move back to the sketch layer and delete that extra stuff…
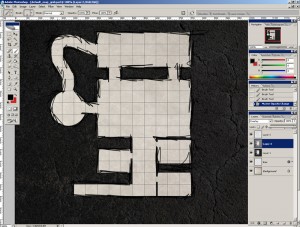
and poof…
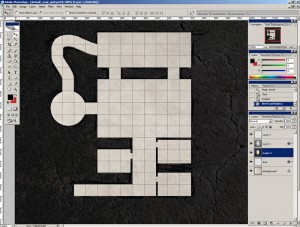
Spending more time in the varying stages and really giving it your all you can come up with even cooler looking maps – this is just the skeleton process to show point A to point B as quickly as possible. After upping the brightness a bit (and adding some beveling) to the rock layer, I ended up with this…
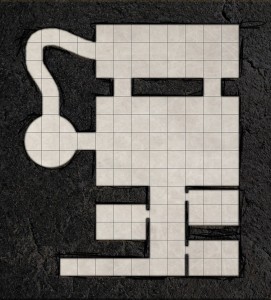
Enjoy 😉
This is cool if I can figure it out. What tool do you use to put the lines down exactly 50 pixels apart?
The “Single Column Marquee Tool”
In Photoshop, you have the small toolbar on the left with shortcuts. The Marquee toll is at the top of the left column there (looks like a dotted outline of a box). Click and hold on that and you will see some options appear including the Single Column and Single Row Marque options.
Awesome thanks!
Great tutorial! It’s definitely going to come in handy. I was looking into various map programs, but never considered just using photoshop.
Yea, it’s very powerful – I have been basically LIVING in this program since 1999 :p